

Today I'm going to share with you a website that has added so much fun to my students' learning. Kahoot is a game-based classroom response system that can be used for review, practice and formative and summative assessment. It can give a quick snapshot of students' learning or need for additional teaching. It has added a new element of excitement to my classroom. In fact, students even ask to play it for fun! I recently began having my students make their own Kahoots to show what they have learned. These have been perfect as final projects for our Genius Research Projects. Students could also work in groups to create Kahoots. What a great way to get students motivated to show all they have learned!
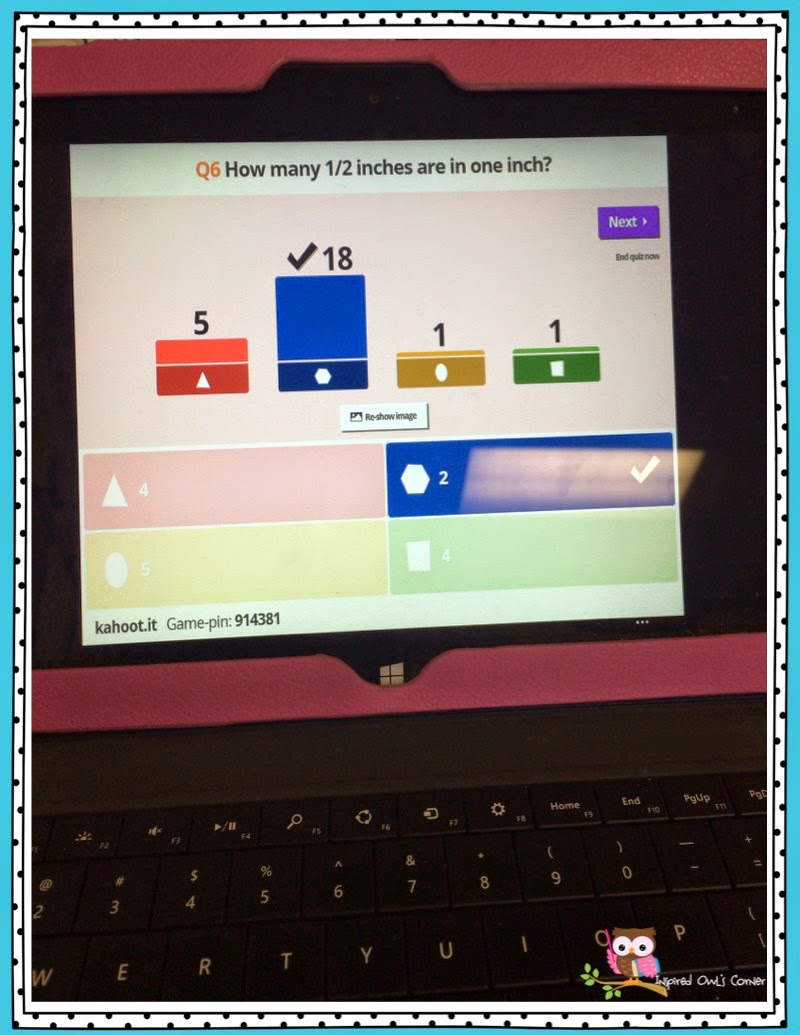
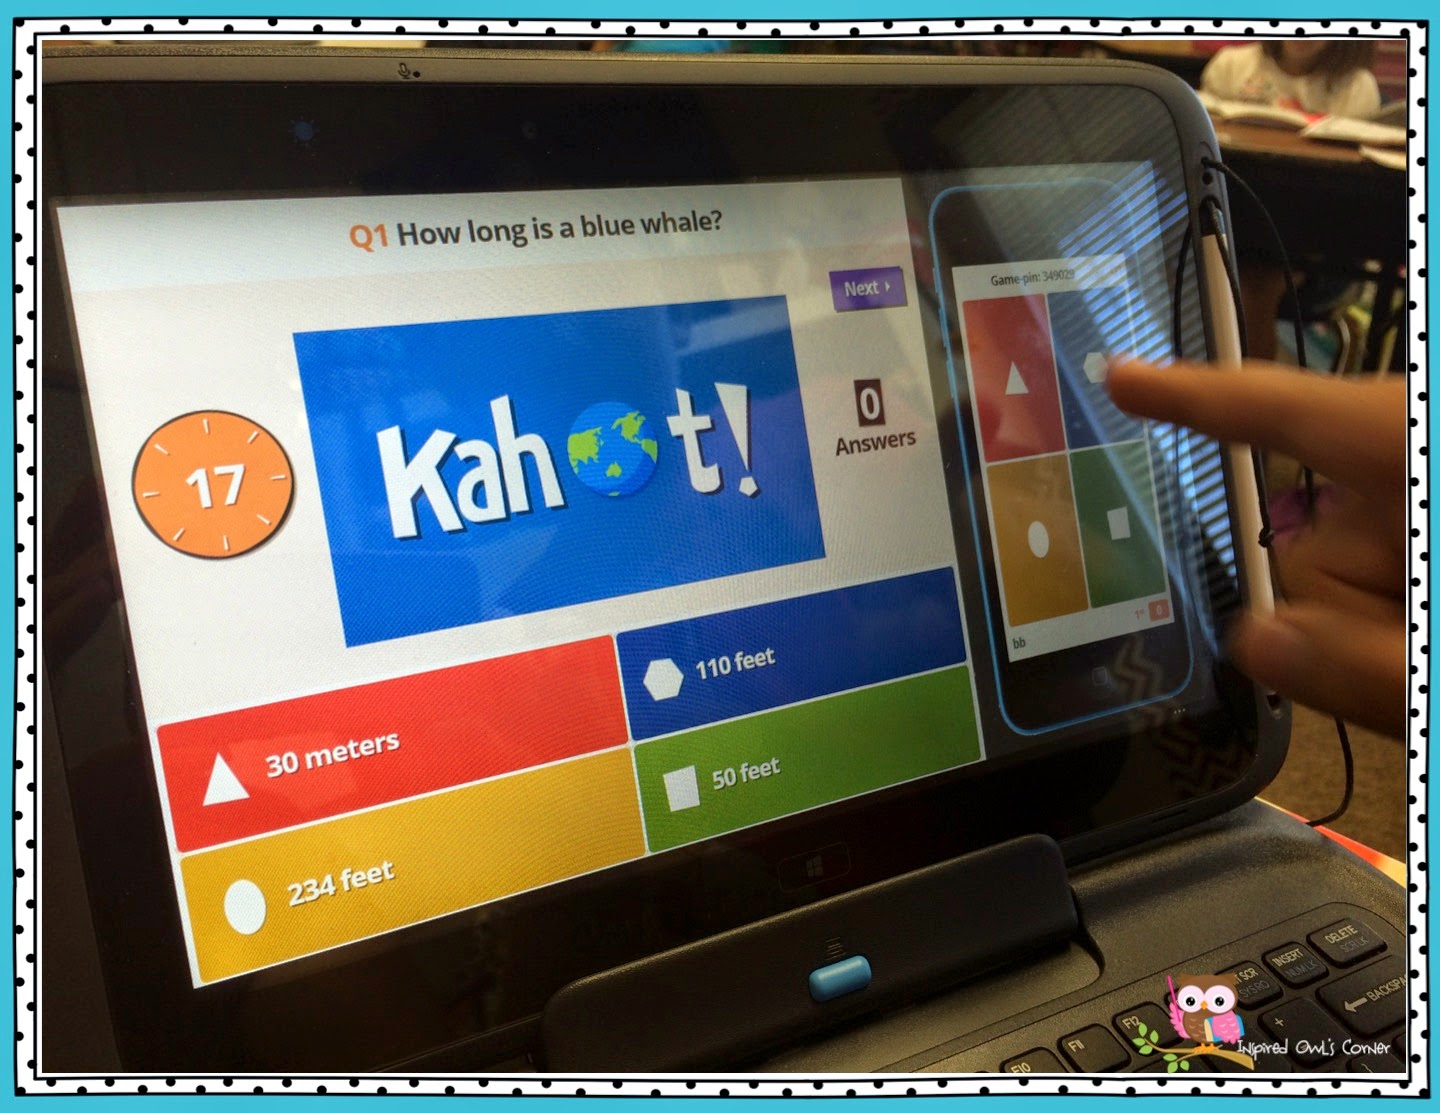
I created the Kahoot below for extra math practice. It took me about ten minutes to make a ten problem Kahoot. What you see on my device is a Kahoot game projected onto my overhead screen. The students have a certain amount of time to answer each question I had already typed out. Fun game show themed music plays and a running clock with a tick-tock sound is heard during play.
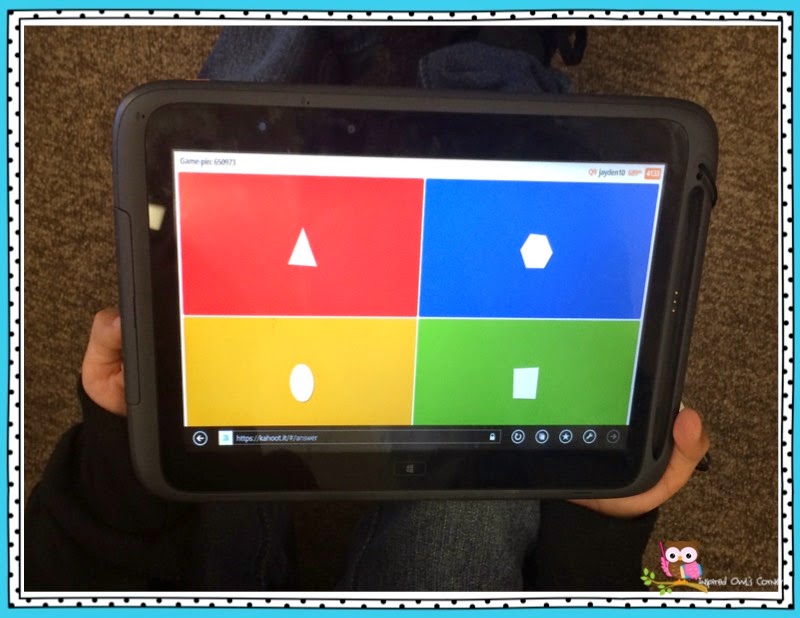
This is what the students' devices look like during play. They choose the color for the correct answer. Messages appear throughout the game letting the students know how they are doing compared to others.
Below is a Kahoot a student was in the process of making for his Genius Project. He chose to research the Oakland A's baseball team for his project. He created questions from his research to make his Kahoot. After students have completed their Kahoots, I have them self-edit and revise, then have a peer edit and help them fix any mistakes in their Kahoot. Their final projects will also be graded on spelling, punctuation, and grammar.
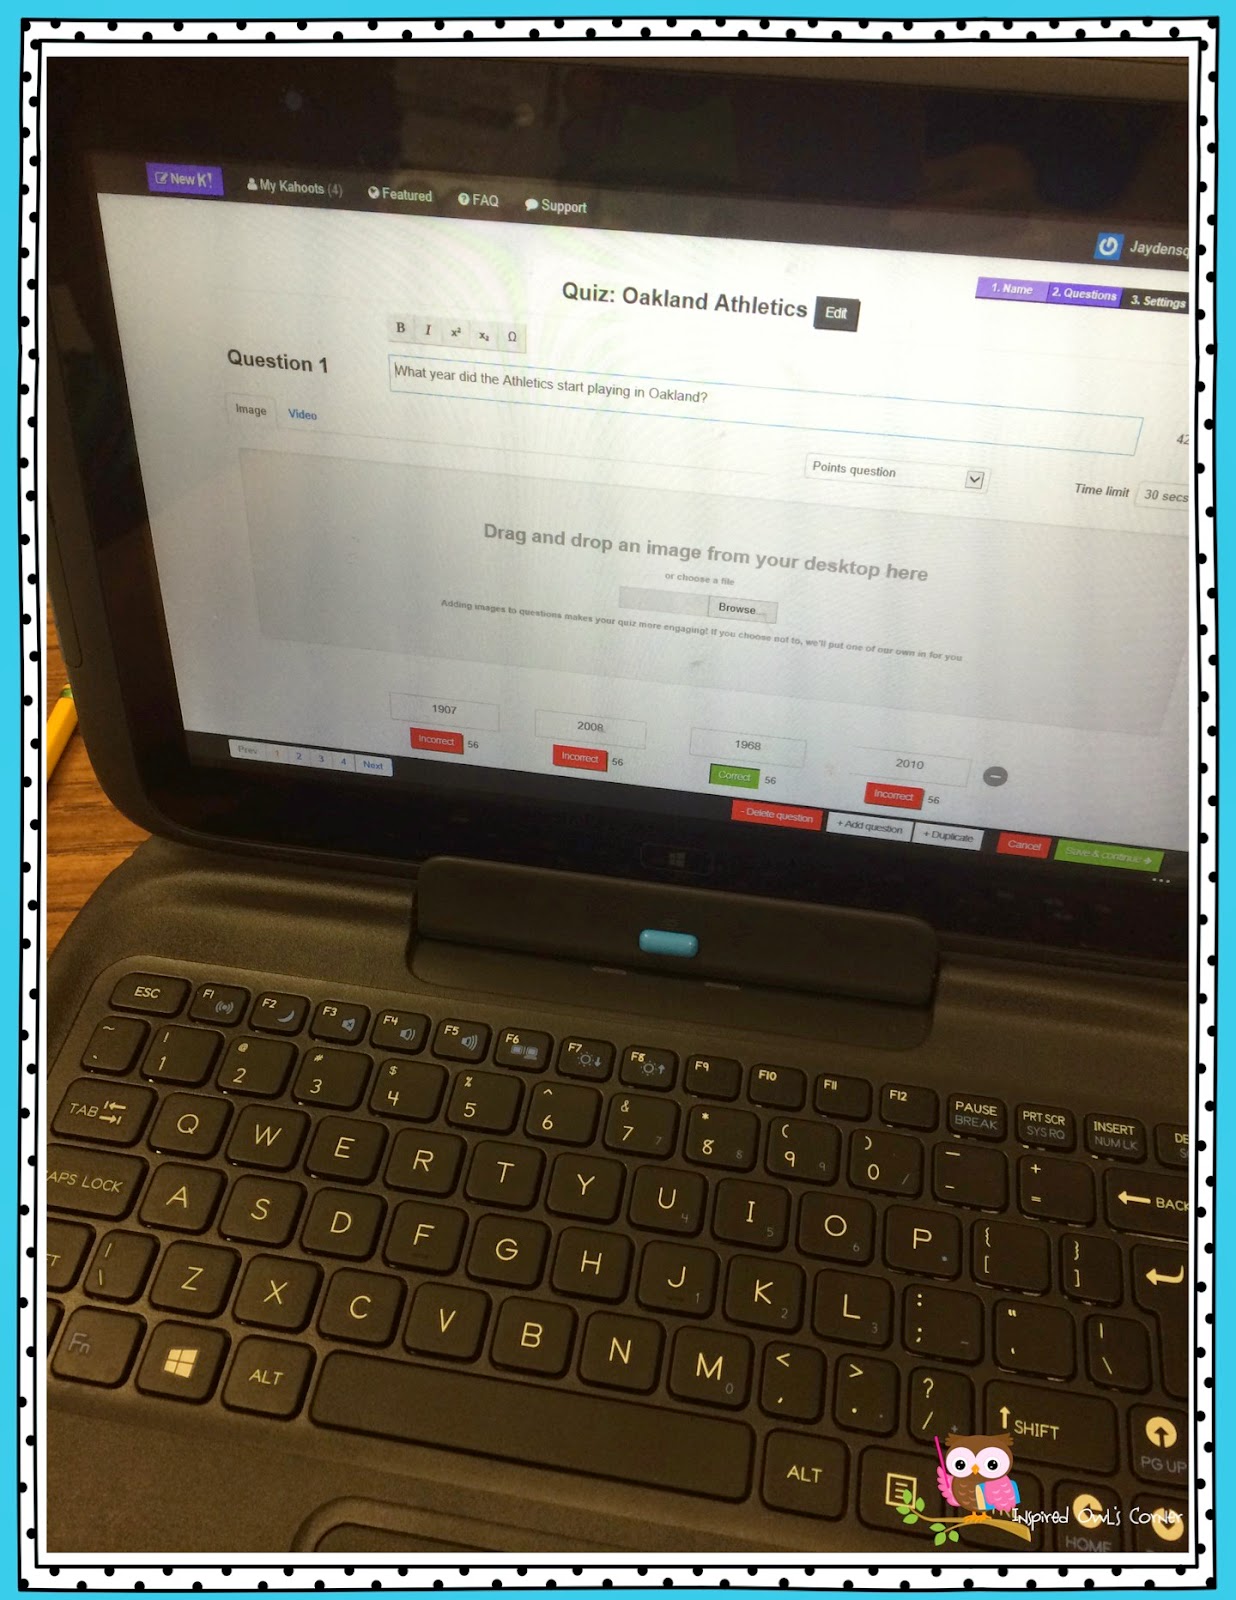
After reading this student's Kahoot, I encouraged him to add four answer choices to make his Kahoot more challenging, instead of making it a simple yes/no answer choice like he did in the picture above. By having your students create their own Kahoots, you can easily assess their learning based on the questions and answers they include.
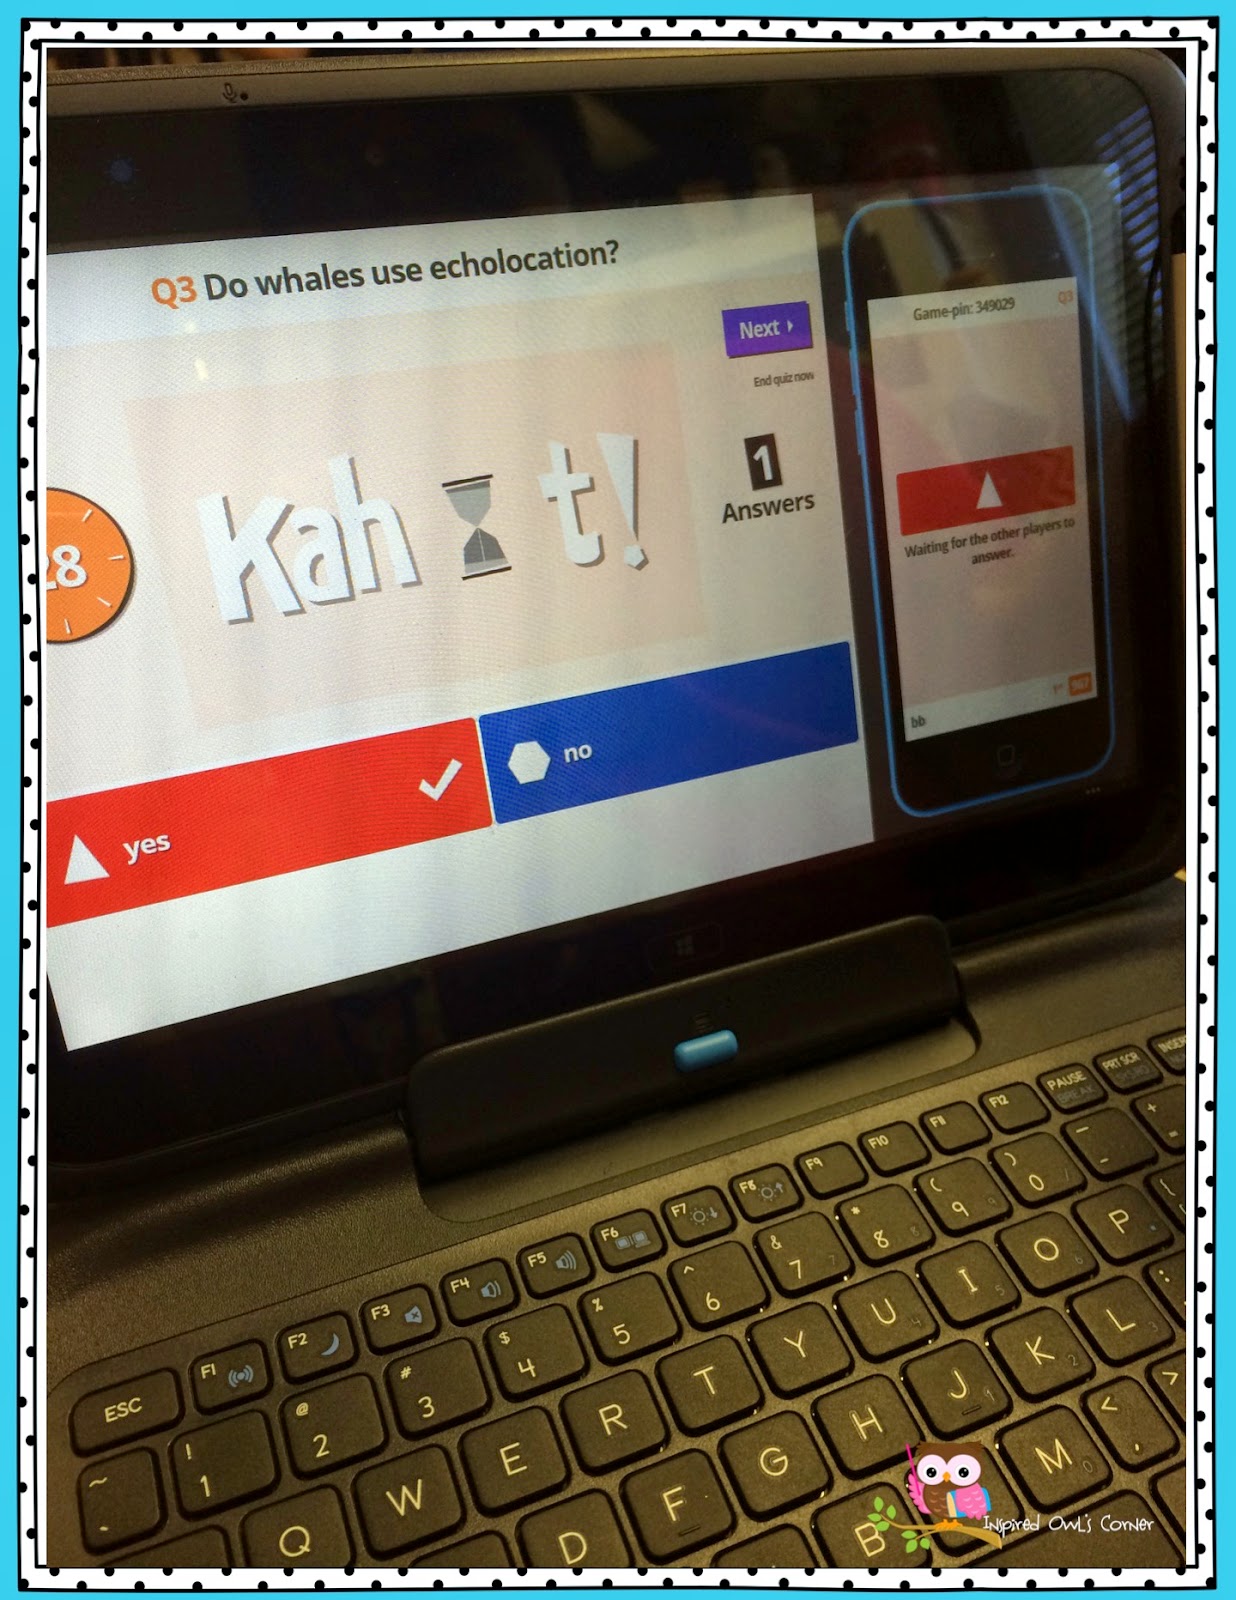
Below is what the student's Kahoot looks like in preview mode. Students are able to preview and play their Kahoots, then go back and edit them if necessary.
My entire district received 1:1 devices this year, but I know not every classroom has enough devices for every student. If you have a few iPads, iPods, or other devices available to your students, you could have them work in teams and play Kahoots you give them or have them create their own Kahoots. Students can even bring their own devices from home and link up with you over wi-fi. If all you have is your computer and you are able to project from it, you could use the free printable tablets I created below. Students can point to the color or shape and you could still use Kahoot to quickly assess their learning that way. (You wouldn't be able to print out their individual assessment data, and you would have to choose the correct answer from your device for each question.) This would still be a great way to review. There are a few choices of sizes and color and black and white.

Making a Kahoot is just the beginning! You can download each students' score and use it as an assessment. If you decide to do that, I would make sure the students use their name and maybe a number as their username so you can easily see which score belongs to which student. You can also search for already made Kahoots and use them as is or edit them to make them work for your class.
Below I've included step-by-step directions if you would like to make your own Kahoot. Creating an account and making my first Kahoot was very easy. The most challenging part of the whole process was when I was ready to play a Kahoot with the class. You have to keep the game projected on www.getkahoot.com, but your students have to go to www.kahoot.it to type in the pin number and log onto your game.
You can click on the graphic below to get your own copy of step-by-step directions to make your own Kahoot. I've included pictures along with the step-by-step directions.
Click on the graphic below to visit Kahoot.

I hope Kahoot becomes a useful tool in your classroom. What other websites are must-haves in your teacher technology toolkit? I would love to hear what you use in your classroom!


